Tuesday 15 April 2014

Zen Tangle Trees- The Art of Line

Zen doodles

It’s always an interesting and enriching experience teaching the elements of art to a class each year.  You find new lessons and projects, share ideas with colleagues or try out a new resource.  No matter what method you use to deliver the element, the students’ work is absolutely stunning. 

They take our puny ideas and turn them into magic, works of art, literally.  Hidden talents emerge and confidence soars, proud of a finished piece, all because you have broken down an element and demonstrated the steps to succeed.  I myself am not a talented artist; I follow the directions and make a sample that does not tend to deviate from the norm.  I leave the creativity to our kids.

Our class was experimenting with various lines and patterns (wavy, curvy, zig zag…) and played around with them by creating Zen tangles on small squares of paper.  We took time to show many, many types of lines and patterns.  It was an excellent way to practise, make mistakes and copy from the examples shown.

Then we began our larger project- Zen Tangle Trees, which involved many steps and took time.  Students studied trees, from the trunk to the branches taking note of the shape and detail.   We walked outside looking at trees around us and also observed pictures on the ipad.

The class began sketching a large tree on white paper and filled it with various Zen tangles, fine lining their work when done. The tree was given a thicker outline to accentuate the details.  A sun was added, either rising or setting in any space on the page. Their beginning steps were already amazing.  They worked with such care and concentration, wanting extra time in class to finish or to take it home to work on.

Sketching Trees
Zen tangles
Background grid of squares
Shading

Amazing detail
As the trees were nearing completion we showed the class how to divide the left over space into squares so that we could create a background of colour.   Each square had to be filled with a blend of 2-3 colours with the sun being a mixture of warm colours and the sky a mixture of cool colours.  Colour had been previously taught but they needed practise with the blending, some figured it out right away, others needed practise.  The colour added a whole new dimension to the tree and gave the art energy and an even more personal touch, a final sense of completion.  The children were proud of the work they had created, unique to themselves, the way I feel art should be.

Unique, breathtaking


Sunday 2 February 2014

Goal Setting with Popplet

Popplet is an iPad app that creates quick and easy webs, mind maps, brainstorms and flow charts. There are minimal bells and whistles so students are not tempted to spend most of the creating time playing with settings and features, as can happen.

We decided to have the students write their goals for term two in Popplet, which we will be sharing with parents at student-led conferences. They can also show their parents how to create a poppet at the conference.

Popplet is a great app for visual learners, and unlike some computer programs that have similar features, it is quick and simple. We like using iPads for writing activities occasionally because it is very motivating for students, particularly if they find writing activities difficult or have written output challenges. As the students were working it was easy for us to do a quick visual check if students were understanding how to create categories and subcategories of their ideas. One student had popples (text boxes) all over her screen, completely unrelated to one another, with ideas randomly listed, so I was able to get her back on track without having her start all over again.

This student has included several photos to illustrate his goals and objectives. He should have had each objective
come from the main goal, rather than linking to each other.

At various points throughout the class I asked several students if I could show their popplet to the whole class using the projector. We discussed aspects that we liked and things that we noticed, which helped give ideas and suggestions to struggling students.

Goal Setting Project Criteria:
  • student goals must be school related (can include fitness, organization, friendship, writing/reading, math, etc)
  • all goals have to be one colour, and the sub-goals, or objectives, must be another colour
  • take a photo of themselves using the iPad camera and import it into their popplet
  • use the largest font for all popples so that it is easier to read when we print them (the medium and small fonts were almost unreadable when we printed them from email)
As can be seen with this poppet, the smaller font sizes are difficult to read. The drawing feature is illustrated
on the left side of the popplet,

Popplet features we like:

  • students can change colours of each "popple" (box) to categorize their ideas
  • they can include photos from the camera roll or take a photo using the in-app camera
  • students can use the drawing feature to create doodles
  • additional popples are created with a single tap to the grey circles on each popple
  • the popples can be moved and resized at any point during the creating process
Now that our students have learned how to use Popplet we can use this in other content areas, such as for our study of Japan in Social Studies. 


Friday 24 January 2014

Blackout Poetry

Doodle Buddy app
We enjoy teaching poetry with our students because we learn more about them as writers and thinkers. Sometimes we are surprised by students when they reveal perspectives, through their poetry, that we have not seen from them before. Many of our students look forward to poetry because it gives them the opportunity to write in a format shorter than paragraphs and essays.

Sometimes poetry can be challenging because we push them to use figurative language, descriptive phrases and powerful vocabulary to describe their experiences. For those students, I like teaching blackout poetry, a type of found poetry, because they do not have to write the poem themselves or from their own experience.

Created on the iPad using Doodle Buddy
The idea is to create a poem by selecting interesting and descriptive words or phrases in newspaper or magazine articles, books or websites. Then the rest of the words or phrases on the page are blacked out, or coloured over in some way, to highlight the chosen words. I begin by modelling how to create a blackout poem by using a newspaper article, and through the gradual release model we work toward the students creating their own.

Last year when I taught blackout poetry we used the camera in the iPads to take photos book pages, then Doodle Buddy, a drawing app, to choose words and create the blackout artwork.

This year we used Doodle Buddy again to create a draft of the poem, but the students decided that they wanted to complete the final product by hand. We have used iPads for several projects this year and they wanted a change and a chance to do go beyond what they could do artistically on the iPad.

As with last year, they took a photo of a page from a book and circled words and phrases. Using the iPads for their draft only gave them a chance to edit freely without having to erase on the hardcopy, thereby creating pencil marks and smudges. Once they felt ready and had conferenced with me, they were free to doodle and create on the copied page. The iPad allowed us to reduce the amount of photocopying necessary because students could try many different pages until the found one that worked for them.
Blackout poem draft on the iPad using Doodle Buddy


Their final poems were all brief, with few lines in their stanzas, but many contained depth in the meaning or message.


Others were more simple or basic, but the students created interesting designs and patterns that are visually appealing.


This is always an enjoyable and creative project and the students like the art component. As you can see from the samples, their blackouts can go from merely interesting design, to images that relate to the meaning of their chosen words.


Thursday 23 January 2014

WinterTech 2014


Tonight we presented at our district's WinterTech 2014 technology conference. There were a variety of sessions including using screen casting apps, twitter tips, using Book Creator, iMovie, and simple Smart Board creation for resource.

Our session was about how we use iPads in our intermediate classroom. 

We shared how we use a variety of apps and student samples for each, as well as tips and tricks that we've learned on our two year iPad journey. 

The apps we shared:
  • Drawing Box
  • Popplet Lite
  • Doodle Buddy
  • Skitch
  • Haiku Deck
  • Using and creating QR Codes
  • Audioboo
  • Book Creator
  • Voice Thread
  • 30 Hands
  • NFB Pix Stop

Some take aways from our presentation:
  • teach creative apps that can be used in many curricular areas
  • start small: pick one app and have students become "app experts" by using the app in several subject areas
  • don't overload on apps: maybe focus on three or four apps for the year
  • avoid subject specific apps that are game focussed as they have a limited use (and we don't use iPads for "free time"- our iPad work is project and criteria based)
  • don't give up when tech issues arise, as they always do
  • ask for help: have a tech buddy or expert 


We plan on writing posts on all of the apps listed above, including student samples and extension of the ideas, we just need some time to do so. This is a very new blog and our heads are full of everything that we want to share!


Friday 10 January 2014

Snow Day Math

It doesn't snow very often here on the west coast of Canada. In fact, some winters we have no snow, so when it does it is a big deal. One Monday this past December we looked out the window during grade six math class (the grade six students from our class and another grade 5/6 class) to see snow flakes falling from the sky. I might as well have said that the students had won the lottery for all the cheering and excitement. I could either try to refocus them on the planned math lesson, or join them in their enthusiasm.

I opted for the latter and told the students to go outside for a few minutes to play. I figured they'd get cold and be happy to come back in. I was amazed at the fun they were having with barely any snow on the ground, so I decided to weave some math into the fun. 

In groups students had to make the biggest snowball they could, and I said there would be prizes. They used rulers to scrape any snow they could off the ground and make it into a ball. This was a difficult task as it wasn't good packing snow.

Once everyone's fingers were frozen we came back inside with the snowballs. Students brainstormed all the ways we might determine which was the biggest snowball, and the problems with each method. Some wanted to weigh the snowballs, and we discussed how some might be more dense than others because of packing tightly. Other students wanted to measure the height and width of the snowballs, but I pointed out how some were irregularly shaped and not spheres.

Then we talked about volume and how that might be a good measure of the largest snowball. Again, the irregularly shaped balls and how this would not work. However, because I did not want to leave the class to go to the science storage room to get a scale, we decided to attempt to calculate the volume of the snowballs. 

http://www.wikihow.com/
Calculate-the-Volume-of-a-Sphere
First we googled the formula for volume of a sphere and wrote it on the board. Some of the more advanced students examined the formula to determine what we would need to calculate the volume. We would have no accurate way of determining the radius of our snowballs, so we decided to estimate as best we could by measuring the height of each snowball (understanding that they were somewhat irregularly shaped) and using this as diameter. 

Once we halved the diameter to arrive at the radius we worked our way through the formula together on the front whiteboard. Many students were not familiar with multiplying fractions, Pi or exponents, so they had a steep learning curve, but the stronger students helped walk us through the process. 

We did this for the top three snowballs and came up with an approximate tie between two. By this time the snowballs were starting to melt so I let the students go back outside and throw their snowballs. This was their favourite part, of course!

As luck would have it, a couple of weeks later we had a large dump of snow on the last day of school before the winter break, so we had another big play outside in the snow. This time we skipped the math!


iPad Class Instruction Essentials

When we embarked upon our technology journey, we realized very quickly that we would require a projector. There are numerous posts on the internet about how to use only one iPad in a classroom, but we knew that if we wanted the iPad to be in integral part of our teaching, and in fact change the way we teach, we would need a projector. We wanted the iPads to increase discussion and sharing and make our students' education be more collaborative and we needed a projector to not only model for our students but also for our students to share their ideas and amazing creativity.


There are two projectors at our school; one in the computer lab and one housed in the library on a moveable cart. We didn't want to be limited to specific times to use the projector, however, so together we purchased a projector for our exclusive classroom use. I imagine that some of the ways we use the projector is similar to some ways SmartBoards can be used in classrooms. Another option we could have used is Apple TV; however, with our resources the projector was the most cost effective option at the time. We also appreciate the portability of the projector.

Along with the projector we require adaptors for our iPads to connect to the projector. As Joanna's iPad is a slightly newer model to mine, we each have our own adapter.


Various Ways We Use the Projector:

  • In discussions, if we need to fill in gaps in student background knowledge by researching a topic or image on the internet, we do not have to book the computer lab. We can find out immediately what we want to know. In our large school we only have one regularly scheduled computer lab block, which is not practical for this kind of inquiry. An example of this is when we were reading about the Great Pacific Garbage Patch. We googled images of the garbage patch and its location. 
  • Students can share their projects and work with the whole class easily. For a French project students took a photo of their labeled winter scene, and with their work projected to the screen, they read their phrases and sentences aloud to the class. 

  • I have used the World Atlas app from National Geographic projected onto the screen to show the locations when doing current events, instead of the traditional globe that every classroom seems to have. To show the whole class a location using the globe I have to walk around the room and point with my finger. With the app projected for the whole class, I can manipulate the digital globe to find locations and everyone can follow along at one, which enables a richer discussion. 
  • We use the projector to model how to use a new app, and then once students are working, we use it to share the unique ways they use the app with the rest of the class.

  • I have shown on line videos related to current news events. For example, during Typhoon Haiyan I showed videos of the destruction caused by the typhoon on CBC.ca 

  • When studying Connecting with Nature, a unit from the David Suzuki Foundation, we learned about the importance of pollinators and the threats they face. To bring pollinators to life for the students we watched a TED Talk by Louie Schwartzberg, The Hidden Beauty of Pollination


The ways to use a projector are really only limited by the imagination, and I can't see teaching now without the use of one. 


Thursday 9 January 2014

Welcome To Our Journey


We decided to begin documenting our learning journey together, as teaching job share partners and friends, in October, 2013, when we were in the midst of parent-student conferencing, because we never seem to do things in half measures. This photo was taken because we thought it was funny how similar we are. Without planning, we each wore a scarf, jacket, and exactly the same pants and flats!

We have been sharing a class since returning from maternity leave with our oldest children (we have six between us). Each of us brings different strengths to the class, and yet our philosophy of education and our view of child development and relationships is very similar.

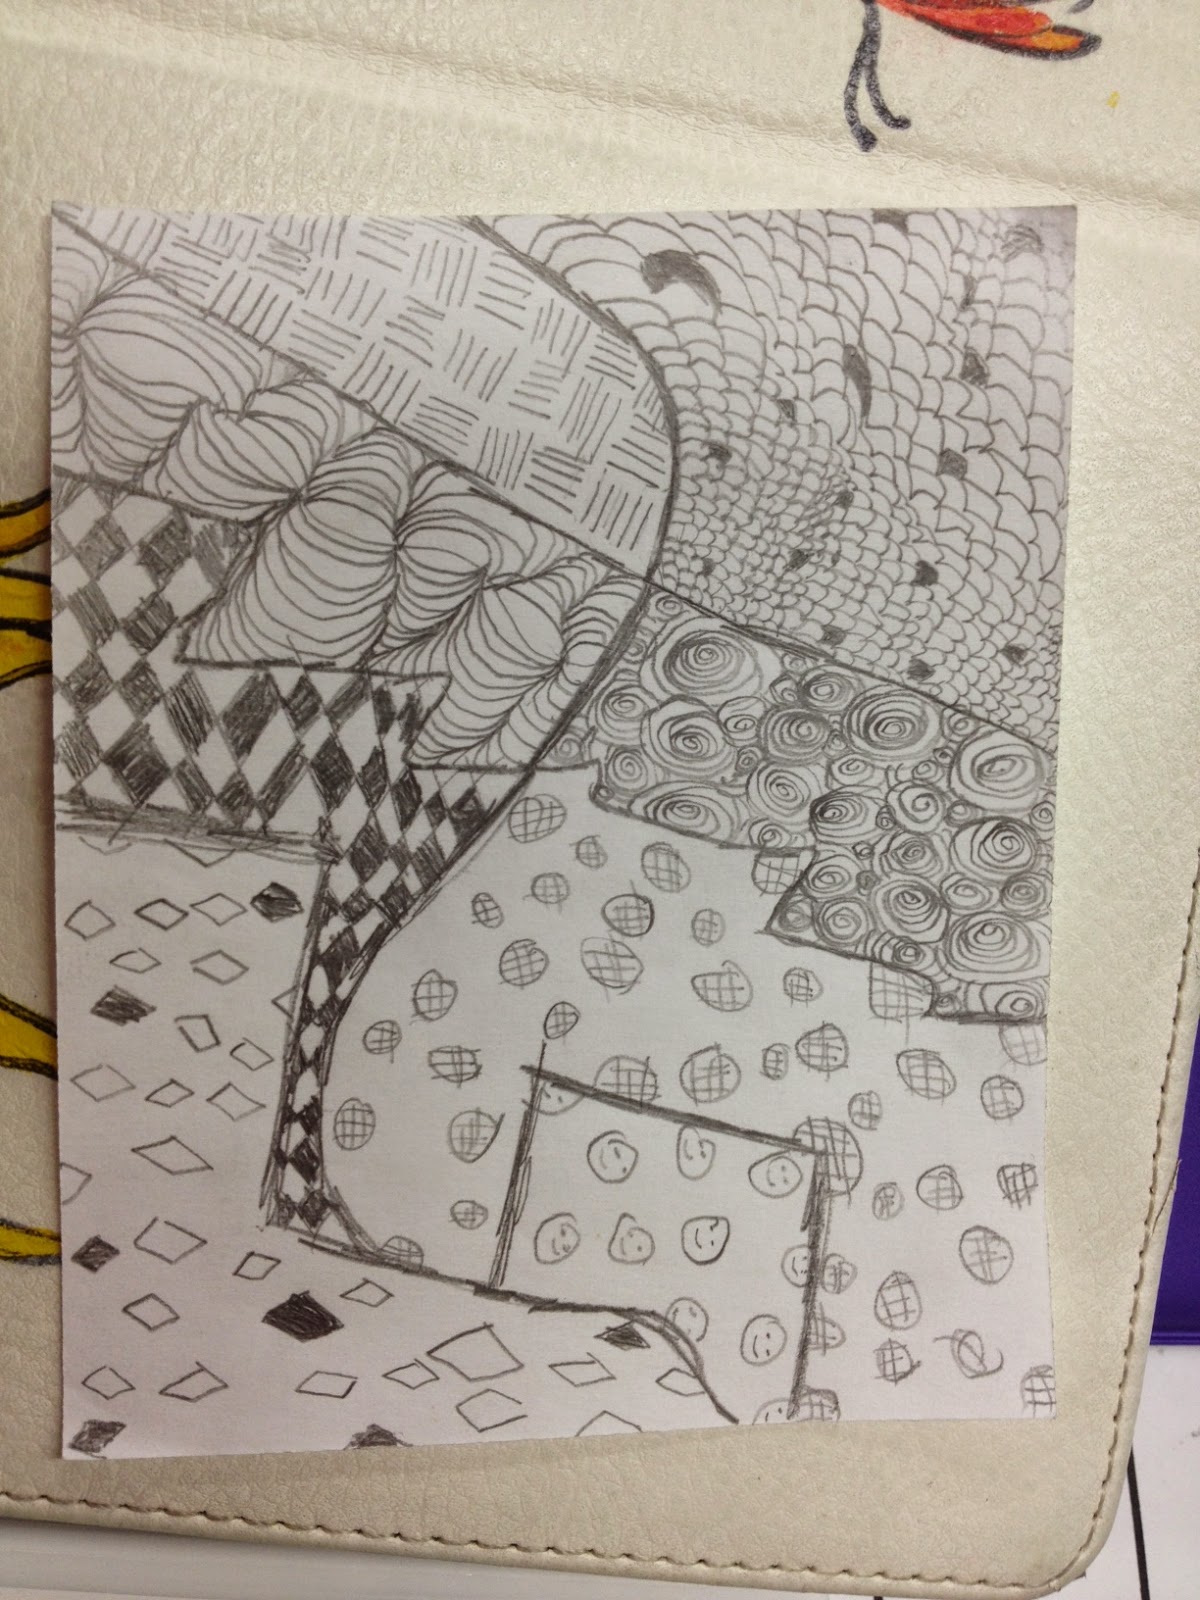
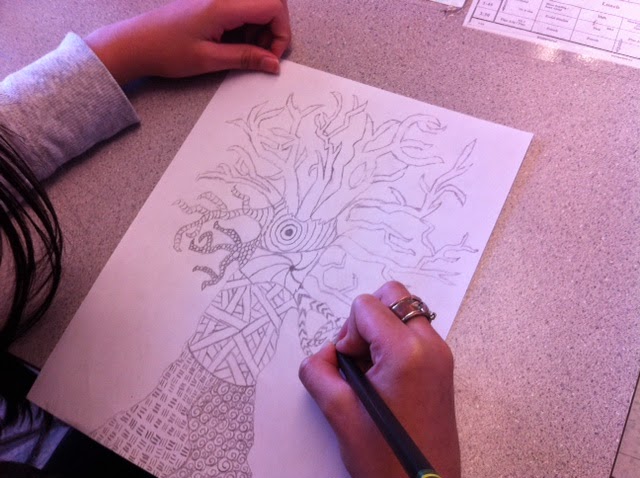
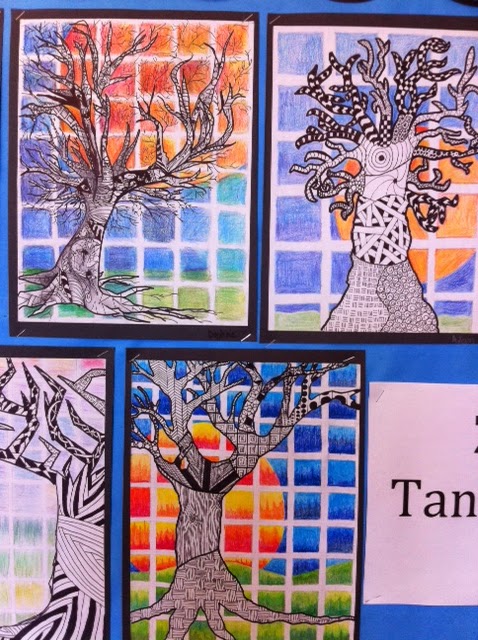
We believe in pushing ourselves to try the current ideas and ways of teaching because we do not like being stuck in a rut. It is because of this that we decided, after a particularly stimulating professional development workshop, to embark upon becoming more tech savvy as people and teachers.

Both of us purchased our own iPads and a shared projector for our exclusive classroom use to complement the ten iPads that our school had at the time. Although it is possible to use iPads in the classroom without a projector or multiple iPads for student use, we felt that it was necessary for meaningful learning. We can model how to use apps, project individual student work on iPads for class sharing, view websites and on line videos for content areas and current events.

Since beginning this journey our school, with grants and PAC fundraising, has purchased 30 iPads and 25 iPad minis, which has increased our opportunities to learn and create with iPads.

Together we have also begun the Mind Up program from the Hawn Foundation, which aims to give children the tools to calm themselves so optimal learning may occur. The lessons in the program give them the ability to engage in mindful breathing, and knowledge of how their brain functions so they understand the science behind what they are doing when they practice mindful breathing.

We have also made a commitment to be mindful of our environmental impact as teachers. Schools can create a great deal of waste, and consume a great deal of energy. We strive to reduce the amount of photocopying we do and reduce the amount of paper our students consume. We have found iPads to be very useful with this goal, as students can do things like taking screen shots of webpages to highlight and take notes, rather than photocopying for student use. Many of our students have joined our Eco Team, which is working to promote energy savings and waste reduction. This year our class is also part of a gardening program which has been headed by Ian Lai of the Terra Nova Sharing Farm.

Join us as we share our learning journey…